
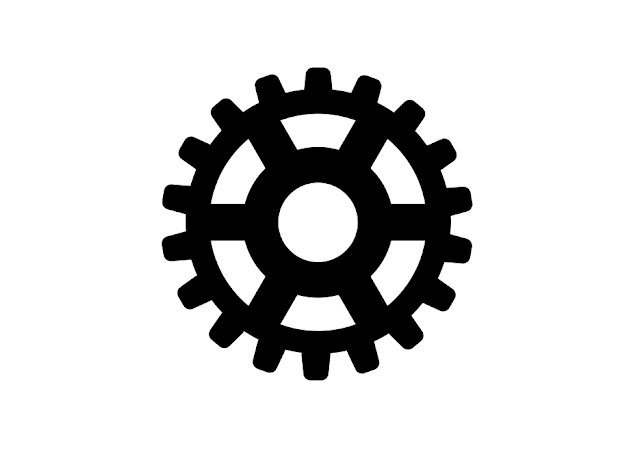
Today we will look at 3 ways to create a gear in illustrator. Each method has different complexity and its own advantages and disadvantages.
Content:
- The first way is with the “Star” tool.
- The second way is with the “rotate” tool.
- The third way is with a “pattern” brush.
- Youtube video of tutorial.
- Conclusion.
The first way is with the “Star” tool.
Step 1.
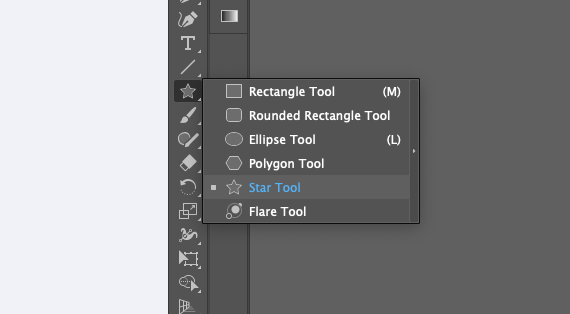
Select the “Star” tool.
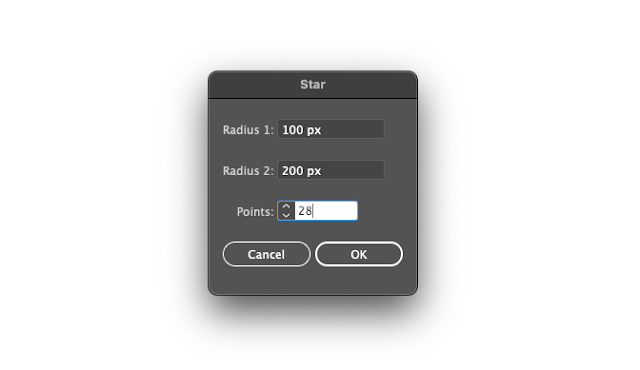
Then click on the workspace once and set the following parameters:
Step 2.
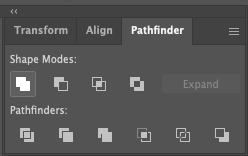
Create a 250×250 px circle next to the star and place it in the center of the star. This can be done by selecting both objects and clicking the marked icons on the top panel.

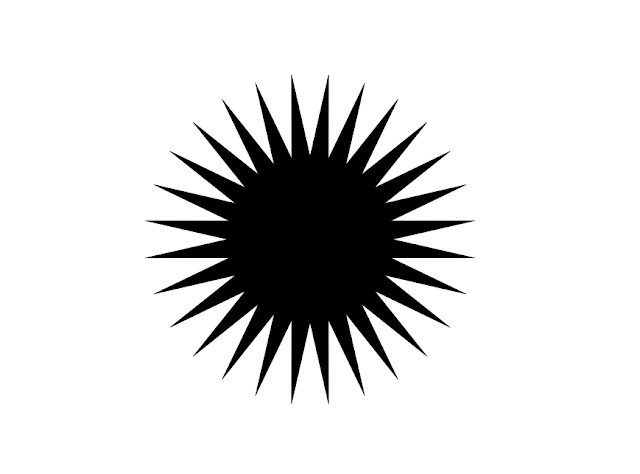
You should get the following:

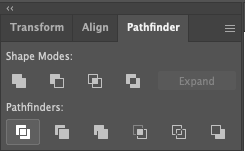
Step 3.
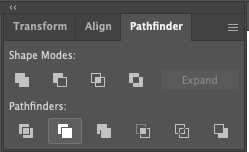
Merge both shapes by selecting “add to shape area” in the Pathfinder palette and pressing the Expand button.
Step 4.
Create a new circle, this time 290×290 px and no fill, select our shape and this circle and center it as described in Step 2.
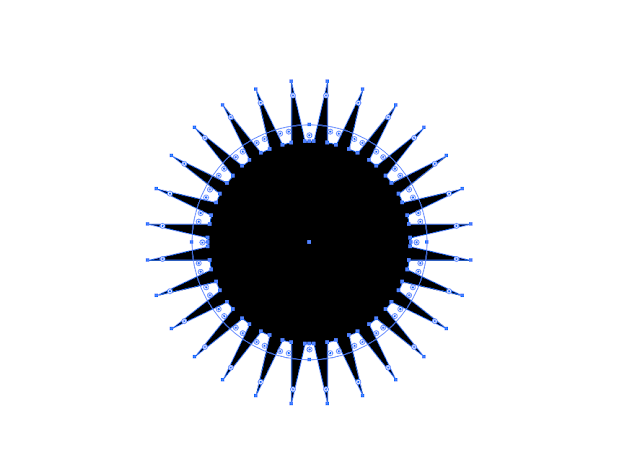
Step 5.
Now select on the Pathfinder palette “Divide”.
Step 6.
Right-click on our object and select “Ungroup”.
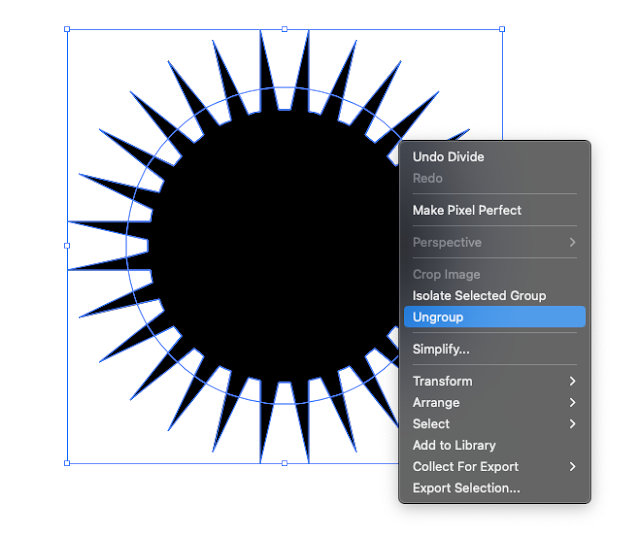
Now we can safely “pull out” our brand new gear and remove the “remnants”.
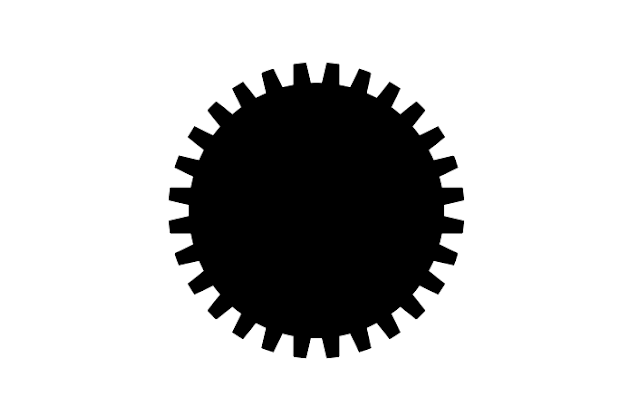
Step 7.
Add a hole in the center. We make a circle of small diameter, center it, select both of our objects, and select the “Trim” button on the same pathfinder palette.
Then everything is the same as in the previous step – ungroup and remove the core.
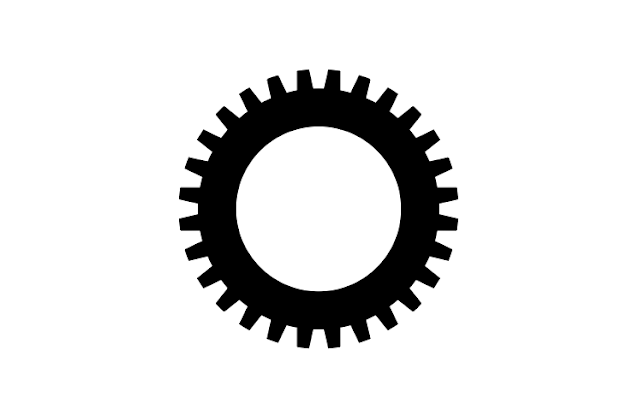
Ready! This way of creating a gear is very simple and fast, but it does not allow you to fully control the shape of the teeth. The most you can do is round the outer and inner corners. Let’s consider another way.
The second way is with the “rotate” tool.
Step 1.
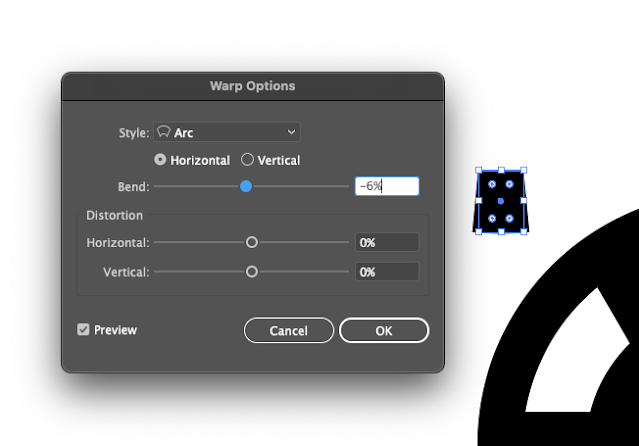
We have the basis for the gear, we need to create teeth for the gear. Create a rectangle as shown below.

Select it and go to Effect > Warp > Arc, enter -6 for Bend, and set Horizontal and Vertical Distortion to 0, hit OK.
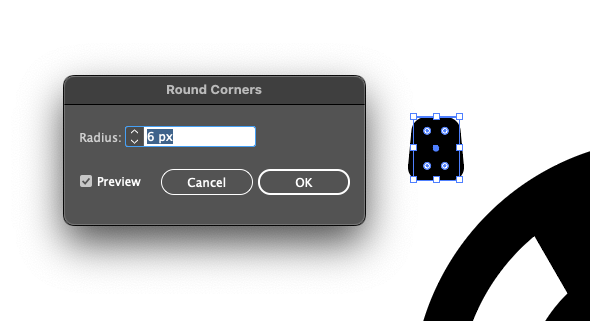
Go to Effect > Stylize > Rounded Corners, set the Radius to 6 in pixels, and click OK.
Step 2.
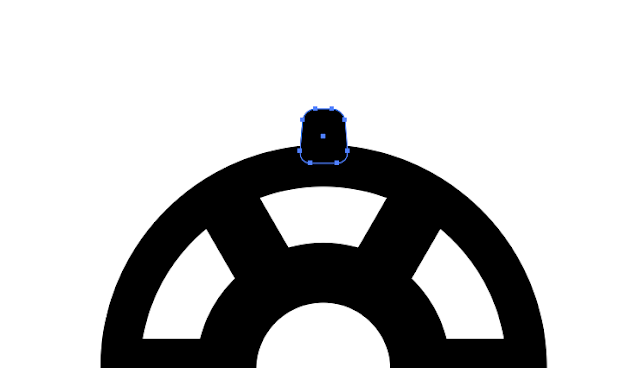
Now we have a gear tooth, center it vertically on the workspace, and place it on the gear as shown below.

Select the tooth and go to Object > Expand Appearance to trace those effects that were added during the path creation process.
Step 3.
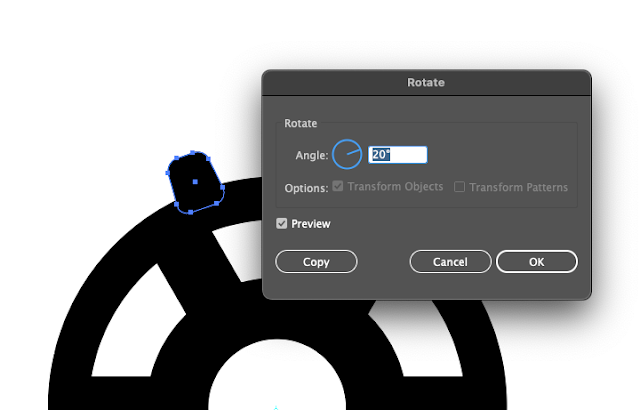
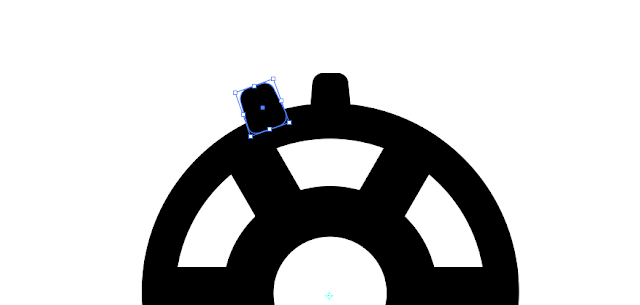
Now we need to rotate the prong. Select the cog and select the Rotate Tool, then Alt-click on the center of the gear. We have 18 teeth, enter 20 for angle in degrees (360 / 18 = 20).
Create a copy of the rotated tooth.
The second tooth is selected, press Ctrl+D 16 times until we get 18 teeth.
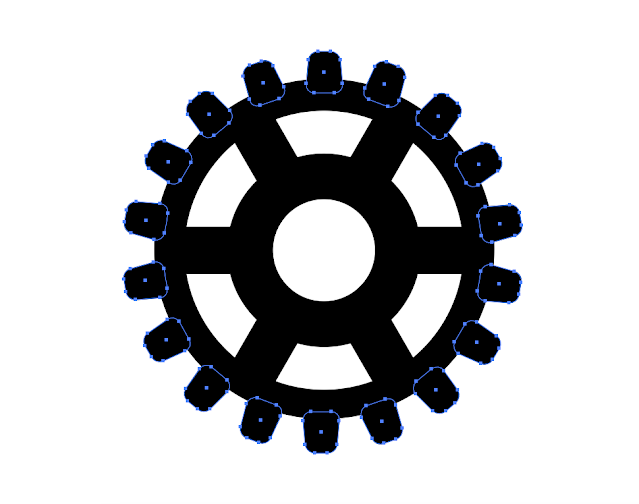
Select all the teeth and hit Unite in the Pathfinder panel.
Ready! This way of creating a gear allows you to set any shape of the tooth. The difficulty lies in calculating the angle of rotation.
The third way is with a “pattern” brush.
Step 1.
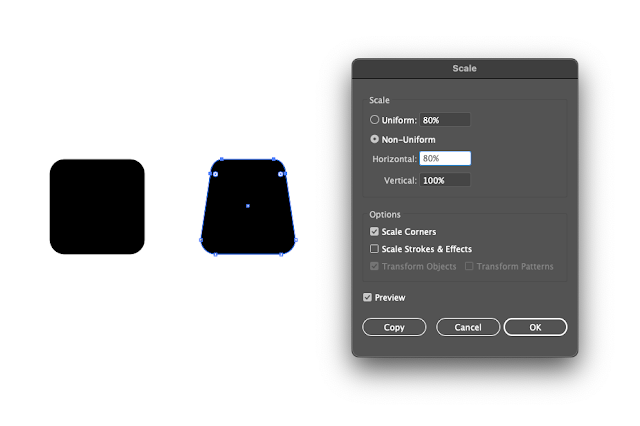
Use the Rounded Rectangle Tool to draw a gear tooth. Using the Direct Selection Tool, select the top four anchor points of the rectangle. We call the Scaling window (Object -> Transform), in which in the option Disproportionately set the value “scale 80% horizontally”.
Step 2.
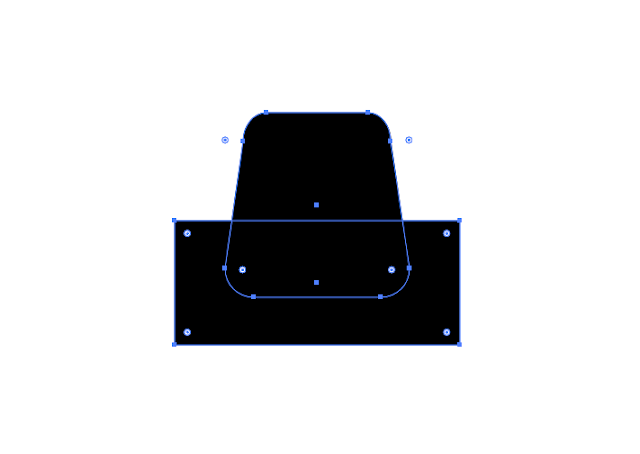
The basis for the gear tooth is a ring, so using the Rectangle Tool we add rectangular element to the tooth.
Step 3.
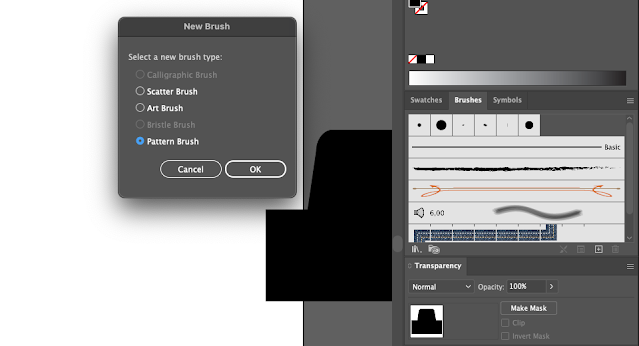
By dragging and dropping the finished gear tooth, we bring it into the open Brushes menu. In this case, the New Brush window appears, in which we activate the Pattern brush option, then in the Pattern brush options window, set the “stroke” of the brush to 20%. Although the size of the brush could be reduced with the Selection tool before.
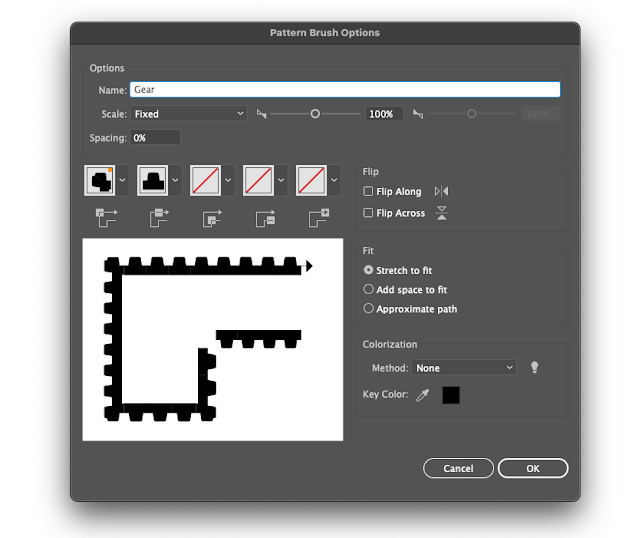
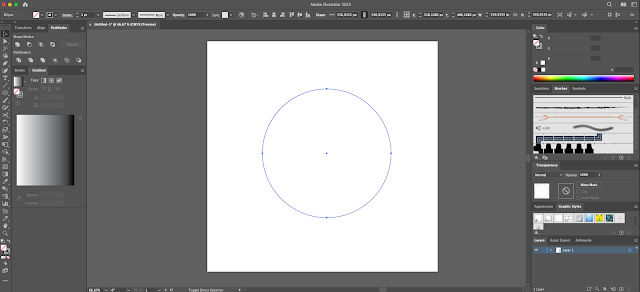
Now with the Ellipse Tool, holding down the Shift key, draw a circle for the gear (picture above). We press the left mouse button in the Brush window, and a slender row of teeth appears on the circle – the gear is ready (figure below).
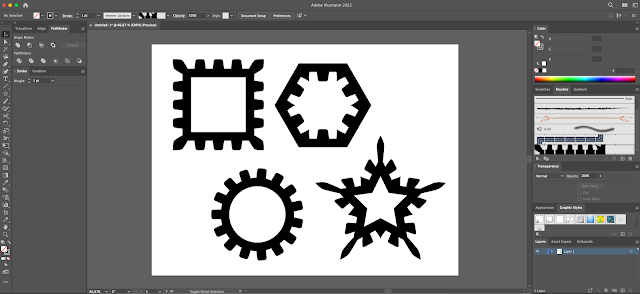
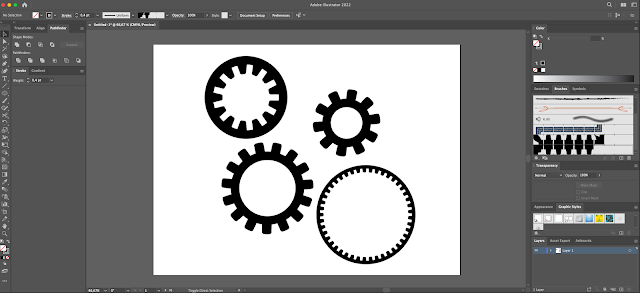
The program automatically determines the number of teeth not only for a specific circle diameter, but also for other geometric shapes: a square or a polygon.
The figure shows various types of gears, one of which has teeth facing the center (drag one side of the circle two diameters to the right or left). Or just flip the blank and create another pattern brush.
You can also watch a video that clearly shows what we went through in this tutorial.
Conclusion.
It all depends on the specific task. If you need to create a quick decorative gear, it is better to choose the 1st method. The 2nd method will help to draw a gear with exact geometric parameters. 3rd method is great for overlaying teeth on a contour of any shape.